Using a handheld console as a live visual workstation sounds risky, but with a tuned workflow you can run crystal-clear 4K loops on a Steam Deck while Resolume handles ultra-smooth mixing on your main machine. With tools like AI-VJ reporting that 67% of its Steam reviews are positive, more artists are confidently building show-ready visual rigs that start directly in SteamOS and flow into professional VJ software.
Key Takeaways
| Question | Answer |
|---|---|
| How do I physically connect a Steam Deck to my Resolume rig? | Use a USB‑C hub or dock with HDMI or DisplayPort, send the Steam Deck output to the same screen or capture device that your Resolume machine sees, then treat it as an input or secondary screen. |
| What visuals work best from a Steam Deck into Resolume? | Short, seamless 4K 60fps loops like the neon tunnels from our Neon category are ideal, because they are GPU‑friendly and designed for smooth, continuous playback. |
| Can I use free content to test my Steam Deck VJ rig? | Yes. Start with free 4K neon tunnel loops such as screensaver windows 11 4k uhd 60fps green red neon tunnel hexagon vj loop and build your first compositions around them. |
| Is 60fps really necessary? | For VJ work it is highly recommended. Loops like our 4K UHD 60fps screensaver neon tunnel windows 10 pc laptop provide ultra‑smooth motion that holds up on LED walls and projectors. |
| Can Steam Deck handle 4K VJ loops? | Yes, if you use efficient codecs and optimized content such as our free neon tunnel screensaver windows 10 4k uhd 60fps vj loop, and you keep background processes minimal. |
| Where can I find more neon tunnel footage for Steam Deck + Resolume? | Browse the full Neon collection page 2 and similar category pages to build a cohesive tunnel‑themed set. |
| What is the basic workflow? | Steam Deck plays visuals or tools, output is routed via HDMI or capture, Resolume receives that feed, and you mix it together with additional loops from your laptop or desktop. |
1. Understanding The Steam Deck + Resolume Hybrid VJ Workflow
The Steam Deck works best as a compact playback and generative visuals source, while Resolume handles composition, mapping, and master output. In this hybrid rig, the Deck behaves like a powerful media player or live instrument that feeds into Resolume in real time.
You can run lightweight visual apps or loop playback on the Deck, then route its video output into your main machine or directly to a projector alongside Resolume. This gives you a flexible modular system, where the Deck is one of several inputs you can trigger, process, or layer.
2. Hardware Setup: Docks, Cables, And Display Routing
To integrate a Steam Deck with a Resolume computer, you need a stable physical connection and a clear display routing plan. In most cases you will use a USB‑C dock with HDMI or DisplayPort, plus a capture device if you want the Deck feed inside Resolume.
A typical minimal setup looks like this:
- Steam Deck with power supply.
- USB‑C dock with HDMI output.
- HDMI to projector or LED processor, or HDMI to capture card on your Resolume machine.
- Audio routed via Deck or via Resolume, depending on your show design.
Keep cable runs short and use good quality HDMI for 4K content. The loops from our neon collection are optimized for 4K and 60fps, so clean signal integrity is important for sharp, noise‑free output.
3. Preparing Visual Content For Steam Deck Playback
Your Steam Deck rig is only as strong as the visuals you feed it. We recommend building a curated folder of short, seamless loops in 4K 60fps, tested on the Deck before show day.
Using Neon Tunnel VJ Loops From VJLoops.net
Neon tunnels are perfect for this workflow because they compress well and look stunning on LED walls. Our screensaver windows 11 4k uhd 60fps green red neon tunnel hexagon vj loop is available for USD0 and delivers smooth, high‑contrast motion that blends well with DJ or lighting cues.
Similarly, the neon tunnel screensaver windows 10 4k uhd 60fps vj loop products provide consistent visual language you can reuse across different tracks. Since these loops are designed as VJ content, their seamless playback is ideal for continuous sessions.
Organizing Content For Fast Access
On the Steam Deck, keep your VJ loops in well named folders, grouped by tempo, color, or theme. That way you can jump quickly between a green‑red hexagon tunnel and a geometric mandala without hunting for files mid‑show.
Minimal file structure example:
- /VJ/Neon_Tunnels/Fast/
- /VJ/Neon_Tunnels/Slow/
- /VJ/Neon_Tunnels/Mandala/
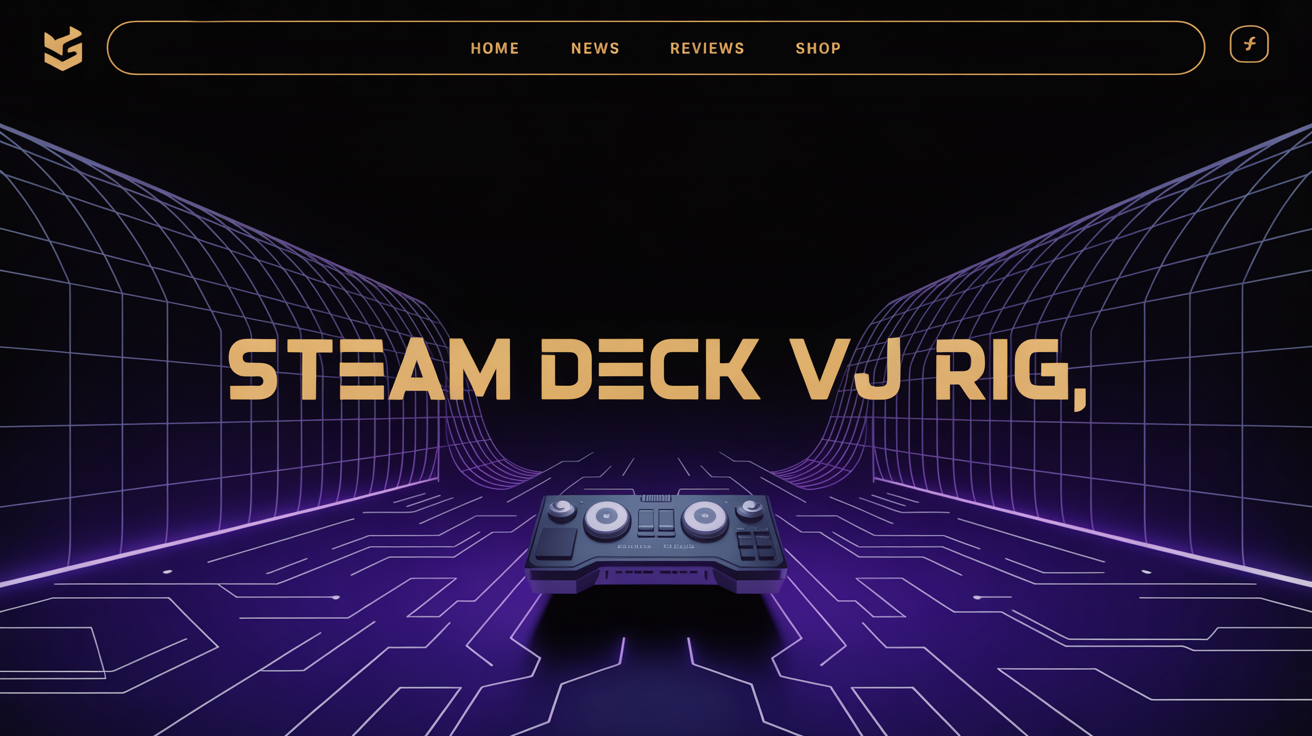
This infographic walks you through a 5-step setup to turn a Steam Deck into a portable VJ rig with Resolume. From hardware connections to performance workflow, it’s your quick reference for live visuals.
4. Installing And Configuring Visual Tools On Steam Deck
Once your loops are ready, you need a reliable playback or generative app on the Deck. Many visual tools, including AI‑driven apps, now ship through Steam, which makes deployment straightforward.
You can install your chosen visual tool in Gaming Mode, then tweak any performance settings in Desktop Mode if needed. Keep output resolution and frame rate aligned with your Resolume project to maintain crystal‑clear sync between both systems.
If you plan to mix Steam‑generated visuals with offline content like our neon tunnels, test them together before a show. Watch GPU and CPU usage on the Deck, so you do not overload the system during heavy scenes.
5. Routing Steam Deck Output Into Resolume
There are two main routing strategies: sending the Steam Deck directly to a projector as a second source, or capturing the Deck output into Resolume as a live input. The capture method gives you much more control, because you can apply effects, blend modes, and mapping.
Basic capture workflow:
- Connect Steam Deck HDMI output to a capture device on your Resolume machine.
- In Resolume, add the capture card as a video input.
- Assign that input to a layer or clip slot.
From here, you treat the Steam Deck feed like any other footage. You can overlay our neon tunnel loops, use them as masks, or mix them with the live Deck visuals for layered depth.
6. Building Resolume Compositions Around Steam Deck Inputs
Once Resolume sees the Steam Deck as an input, you can design compositions where the Deck is a core layer. We suggest treating the Deck feed as either a background energy layer or as a foreground element with alpha and masking.
Layering With Free Neon Tunnel Loops
For a cohesive look, combine the Deck feed with multiple neon tunnel layers from our catalog. For example, you can use:
- neon tunnel screensaver windows 11 pc l dphq as a base layer.
- screensaver windows 11 neon tunnel geometric mandala pattern as a slow overlay.
- Steam Deck live visuals as a central mask or luma‑keyed highlight.
This approach gives you a multi‑depth tunnel that feels dynamic without overcomplicating the rig. All loops mentioned are listed at USD0, which is ideal for practice sessions and early stage show design.
7. Performance Tuning: Frame Rates, Resolutions, And Latency
To keep your rig stable, match frame rates between Steam Deck output, capture device, and Resolume composition. Working at 60fps across the chain helps you get ultra‑smooth motion from loops like our Windows 10 and Windows 11 neon tunnels.
On the Deck side, lock the output resolution to what your capture device or projector expects. On the Resolume side, monitor dropped frames when the Deck feed is active together with several 4K layers.
| Element | Recommended Setting | Reason |
|---|---|---|
| Steam Deck Output | 1920×1080 or 3840×2160 at 60fps | Matches our 4K/60fps tunnel loops for clean sync. |
| Capture Device | Same as Deck output | Avoids scaling artifacts and added latency. |
| Resolume Composition | 1920×1080 or target screen native | Keeps GPU load predictable while mixing layers. |
8. Building A Neon Tunnel Show: Practical Example Set
To make this concrete, here is a simple show structure using only Steam Deck as one source and our neon tunnel loops in Resolume.
Example Set List
- Intro: Soft mandala tunnel from screensaver windows 11 neon tunnel geometric mandala pattern layered under a slow Steam Deck feed.
- Main groove: High‑energy segments with screensaver windows 11 4k uhd 60fps green red neon tunnel hexagon vj loop plus Deck visuals reacting to audio.
- Breaks: Switch to Windows 10 4K tunnels for a change in tone while keeping the tunnel motif.
You can prepare each section as a column in Resolume, mapped to MIDI or keyboard shortcuts. The Steam Deck visuals continue running, while you decide in Resolume how strongly they appear in each part of the set.
9. Managing Libraries: Neon Collections And Themed Playlists
As your rig grows, a clear library strategy keeps shows stress‑free. We recommend separate playlists or columns in Resolume that group Steam Deck content with matching tunnel loops.
You can source a wide range of neon material from our Neon category pages, then tag or color‑code them by usage, such as intro, peak, or ambient. This way your Steam Deck feed always has a compatible partner loop ready in Resolume.
10. Testing, Backup Plans, And Show‑Day Checklist
Before any gig, rehearse your full chain from Steam Deck boot to Resolume output on venue‑equivalent hardware. Check that every clip, including all neon tunnels and Deck‑generated visuals, triggers cleanly and loops without glitches.
Have backups ready:
- Spare HDMI cable and USB‑C adapter.
- Local copies of crucial tunnel loops on the Resolume machine, in case the Deck fails.
- A fallback Resolume composition that works without the Steam Deck feed.
This way, your audience still sees sharp, ultra‑smooth visuals even if one component needs to be restarted.
Conclusion
Setting up a Steam Deck VJ rig with Resolume is a practical way to add a powerful, mobile visual source to your live workflow. With the right dock, routing strategy, and a carefully prepared library of 4K 60fps loops, your rig can deliver consistent, professional‑grade output on any stage.
Our neon tunnel screensavers for Windows 10 and 11 give you a strong visual foundation to test this setup without cost, then expand into more complex shows once you are confident. Start with a simple capture configuration, layer in the Deck feed alongside our seamless loops, and refine your compositions until switching between sources feels as natural as mixing audio.